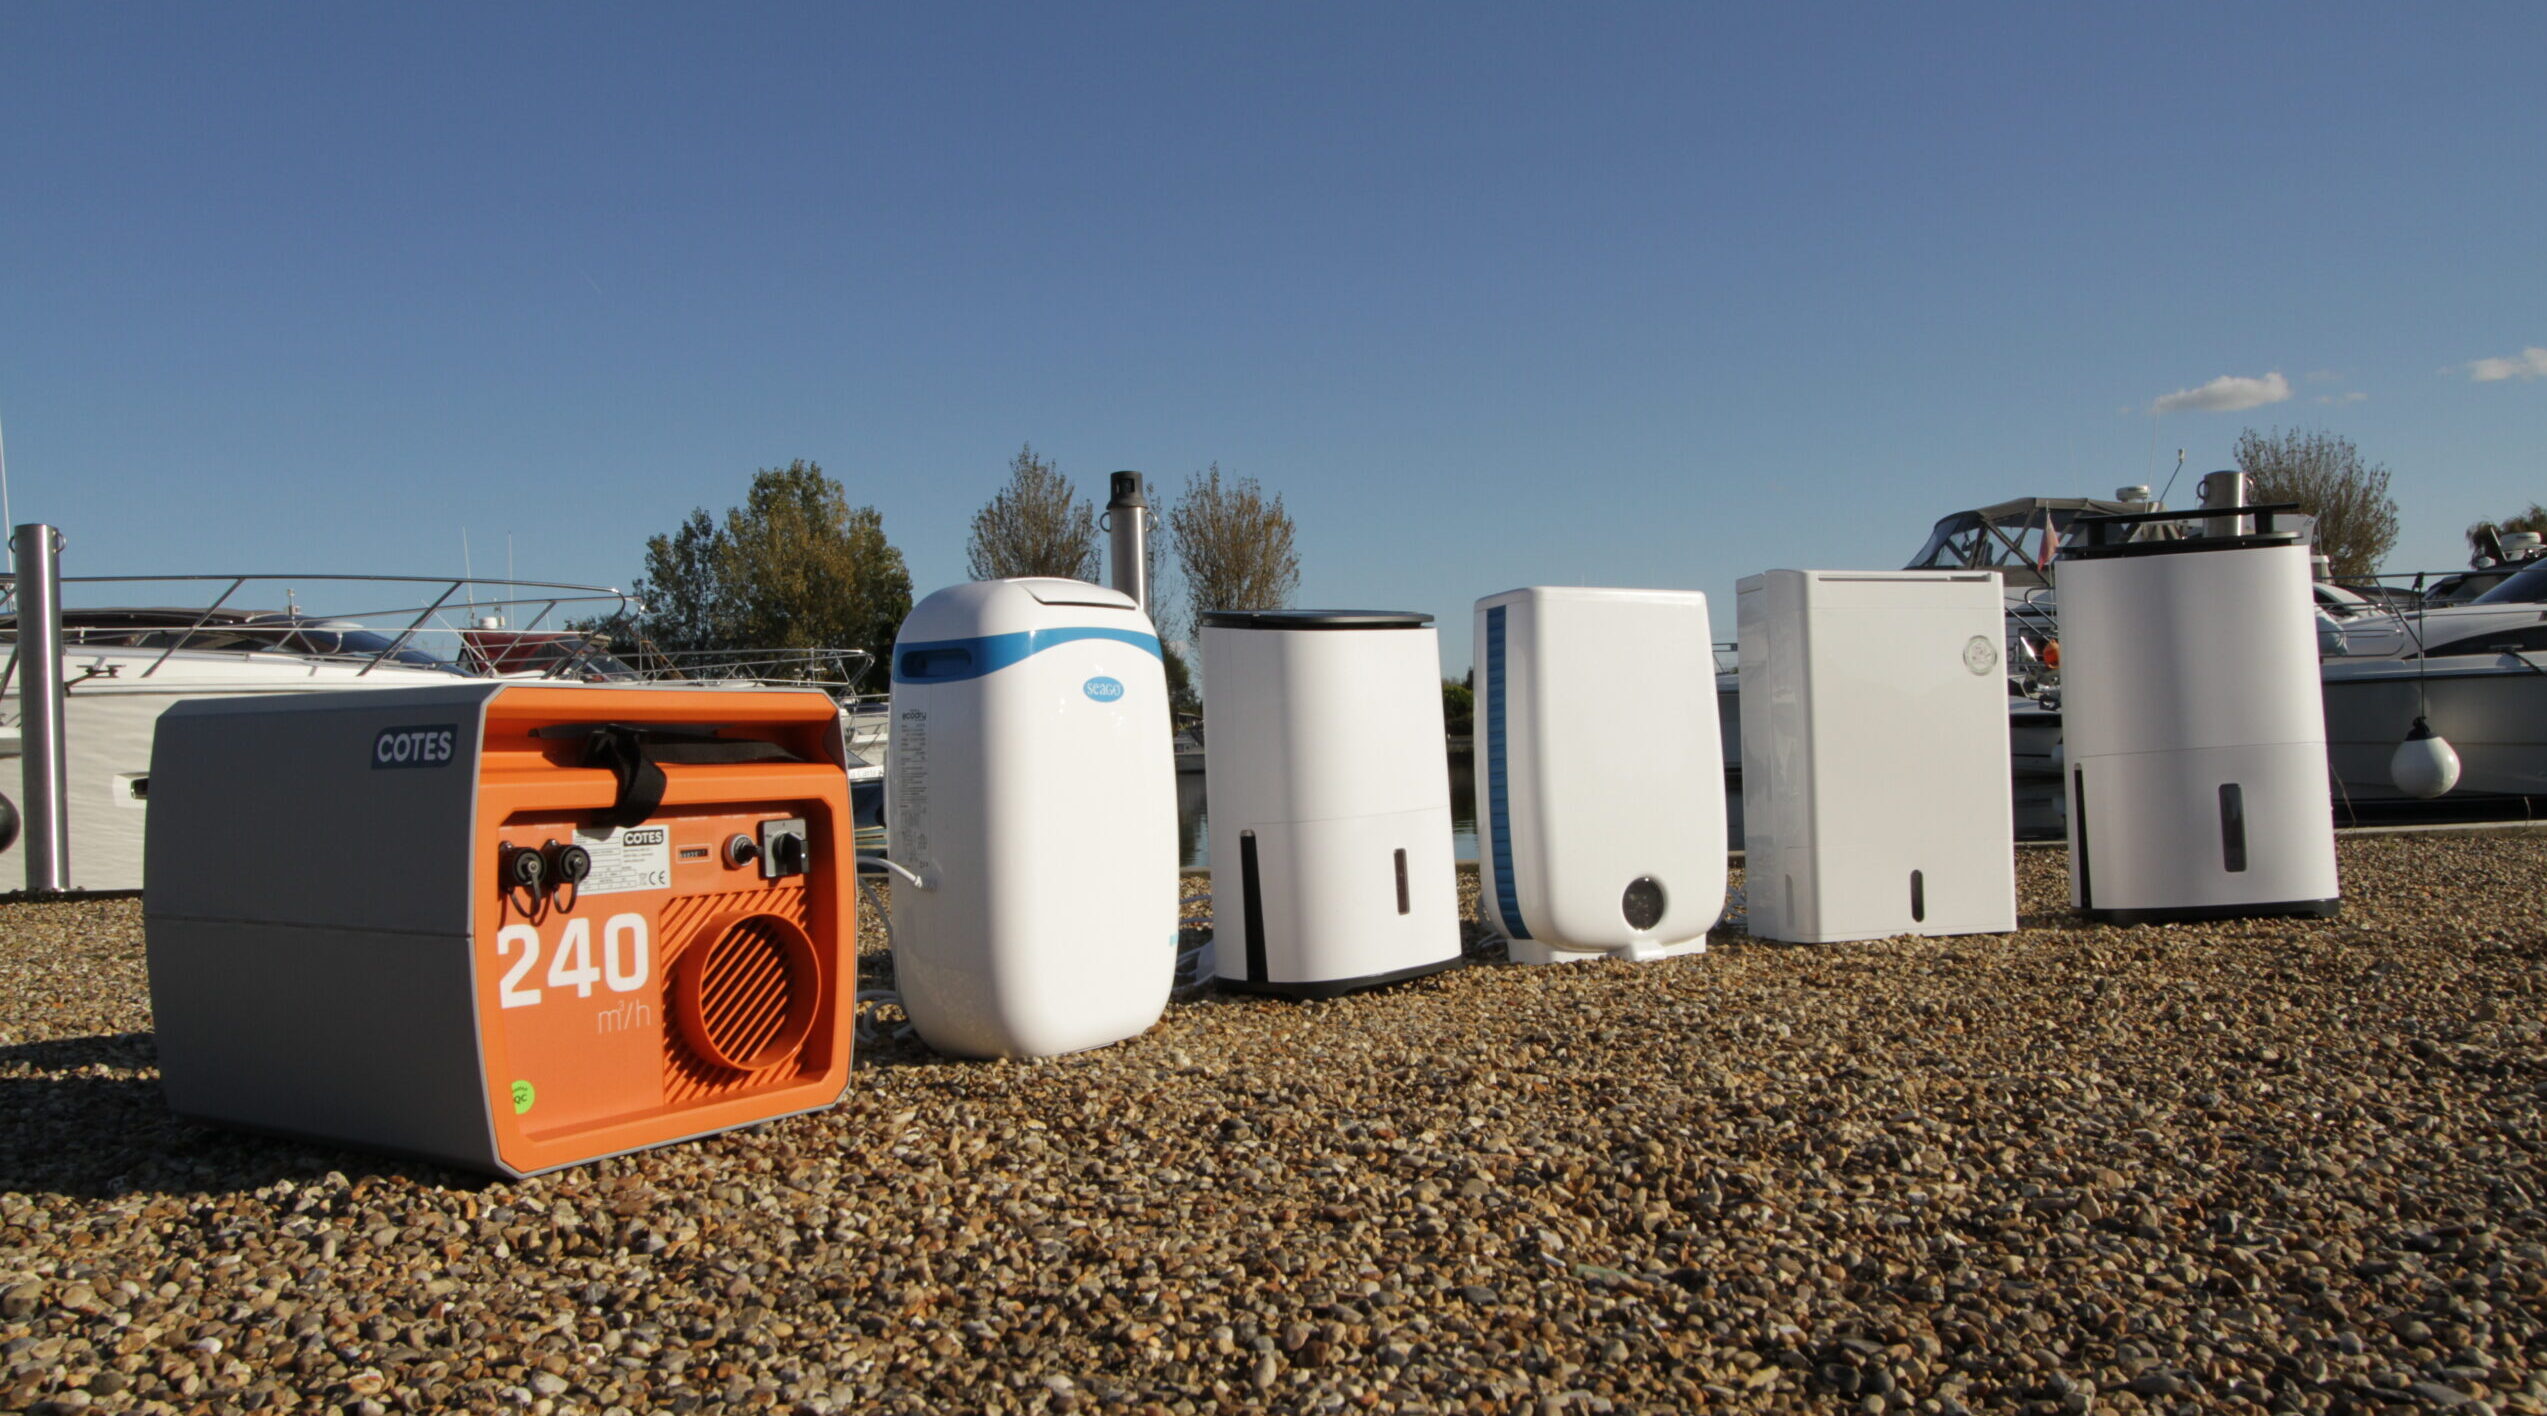
Fixing hull moisture problems can prevent your boat from leaking. Duncan Kent explains how to fix and avoid hull dampness.
No matter how hard you try, a completely dry boat without hull moisture is a rarity.
The older a boat gets the more likely seals will start shrinking, sealant around deck gear will start to dry out and recede, and stress cracks will open up in bad weather.
Then, before you know it there’s water in the bilge. Even without a leaky boat there’s always condensation to consider.
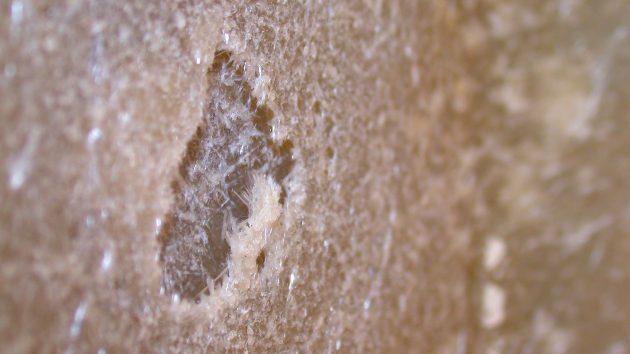
Osmotic hull blister caused by water absorption through the gelcoat. Photo: Yachting Monthly
But the most common thing that owners and buyers concern themselves with when considering the purchase of an elderly GRP yacht is osmosis.
Although osmosis can be progressively damaging if left untreated for too long, it is usually fixed quite easily when dealt with in good time.
A few ugly blisters are not going to sink your boat overnight, but it makes sense to sort them out before it turns into something more damaging.
What causes hull moisture via osmosis?
Osmosis is caused by the migration of water and solvent molecules through a semi-permeable membrane such as a GRP hull laminate.
This hull moisture will often form blisters as the resulting hydraulic pressure increases in the laminate.
The visible blisters are commonly formed between the outer layers of the laminate and the thinner gelcoat outer surface, but the process can also easily form voids in the laminate itself as the GRP fibres are forced apart by osmotic pressure.
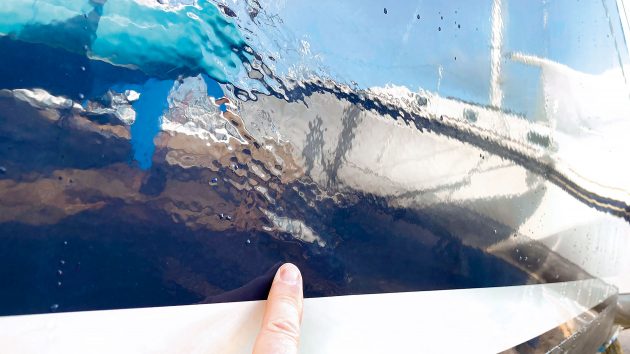
Hull moisture via osmosis can eventually cause a boat to sink, if not treated quickly. Photo: Yachting Monthly
Although water ingress is the main cause of osmosis in GRP boats it can, however, also be the result of impurities within the resin itself or in the catalytic chemicals used to cure it.
These stray elements can react with any moisture in the laminate to form expanding bubbles of mixed chemicals and can even develop within a few years of a new boat being launched.
Osmosis can also occur in GRP surfaces in other parts of the boat, usually where moisture has been trapped against the laminate.
Likely culprits are often the area beneath gas canisters in lockers, or under life rafts and dinghies at the bottom of a locker.
Other common places include the bilges, and particularly in the area of a GRP water tank.
How osmosis starts
Many polymer-based substances are permeable to water, especially salt water, and these can include certain resins making up the gelcoat and laminate composite of a GRP boat hull.
Over time, the hull absorbs water through the porous gelcoat, which then diffuses throughout the fibre laminate. The more poorly the laminate was originally formed, the quicker the water diffuses.
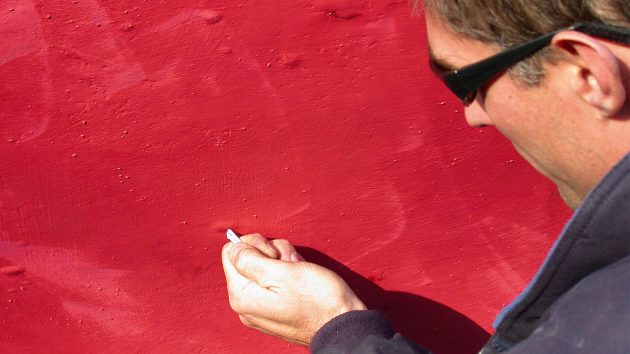
Simple preliminary testing for osmosis includes puncturing blisters. If liquid drains out of them, often with a pungent vinegary smell, it is probably osmosis. Photo: Yachting Monthly
During the oil crisis in the 1970s, when the cost of resin skyrocketed, boatbuilders were often keen to scrimp on resin during the wetting out process.
This frequently left voids and ‘dry’ patches throughout the laminate that acted like blotting paper to any inherent moisture in the hull and were often the starting point for the creation of an osmotic blister.
Known technically as hydrolysis, the osmotic process forms a high concentration of dissolved chemicals in the void which, being hydroscopic, encourages yet more water through the membrane in order to try to equalise the acidity of the mix.
Sometimes it’s not a large area, but merely tiny spots of hull moisture where the resin hasn’t been rolled in fully and the laminate thoroughly wettened.
These can usually be sorted out using relatively non-invasive methods but voids deep inside the composite can cause the hull to delaminate, eventually creating a high risk of
the vessel actually sinking.
Resins
Osmosis is far more prevalent in GRP boats built between 1970-2000.
The primary reason for this (apart from poor construction) was the use of older-style orthophthalic polyester resins, which were more prone to moisture ingress than the superior isophthalic versions used in most post-2000 builds.
At this point boatbuilders also started using more vinylester (polyester/epoxy hybrid) resins which, though more expensive, produced a tougher, more water-resistant composite.
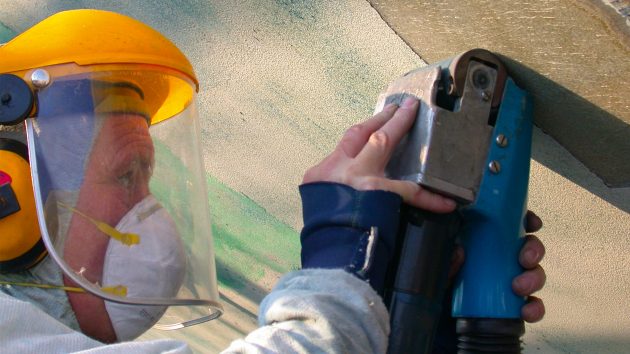
Stripping off gelcoat to begin comprehensive treatment of the hull. Photo: Yachting Monthly
By far the most osmosis-proof resin is epoxy, which is used widely in the car and aeronautics industries, as well as on yachts.
Many boatbuilders now apply an epoxy barrier primer to the bare gelcoat before any antifouling coating, which greatly increases the hull’s resistance to moisture ingress.
A thin layer of epoxy resin is enough to add considerable waterproofing to a composite hull, which is why it is often used to seal a composite hull after osmosis repairs have been carried out, or to prevent it happening in the first place.
When applied to older hulls that have been stripped of gelcoat, care must be taken to ensure the hull is as dry as possible before the epoxy is applied, otherwise the moisture will be trapped in the laminate, creating more problems later.
Epoxy resin is, however, a relatively expensive option requiring very specific ratios and strict environmental conditions in which it is mixed and applied, so that much tighter controls and processes will be required if you decide to choose this approach.
Preventing and treating hull moisture
Osmosis often occurs when a boat undergoes a noticeable change in temperature, for instance, if it has spent most of its life in the cool seas of northern Europe but is then moved
to the warmer waters of the Caribbean or the Mediterranean.
A GRP hull will often be high in moisture content but not necessarily have, or be about to suffer from osmosis, although it’s often an indication of problems to come.
Older and thicker solid GRP hulls tend to be able to absorb more water without getting osmosis, but it’s still advisable to store a GRP boat ashore to dry out for a few months each year, where possible.
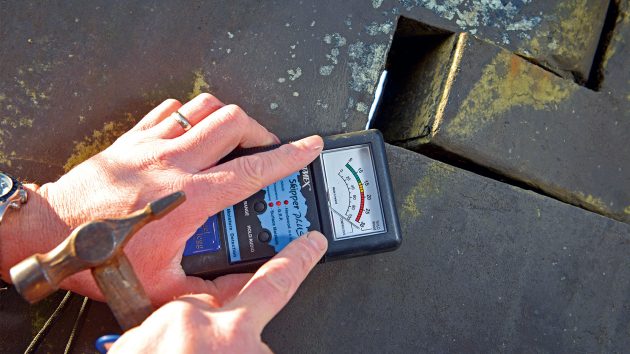
A good moisture meter will help you determine the extent of any osmotic problems. Photo: Yachting Monthly
One way of confirming if hull moisture blisters are osmotic is by piercing them and testing the liquid inside for acidity using litmus paper.
Once osmosis has been diagnosed, however, you will need to determine the extent of the hull damage using a moisture meter.
If it’s only a few blisters over a small area you can usually just dig these out after lifting the boat ashore, wash the cavities well with fresh water and then leave to dry for a few months.
If outside you should put a curtain around the repair area. You may also need to apply heat to help draw out the moisture. Better still, get it into a heated boat shed for a few weeks if possible.
Once thoroughly dried out, the cavities can be filled and faired and the area suitably repainted.
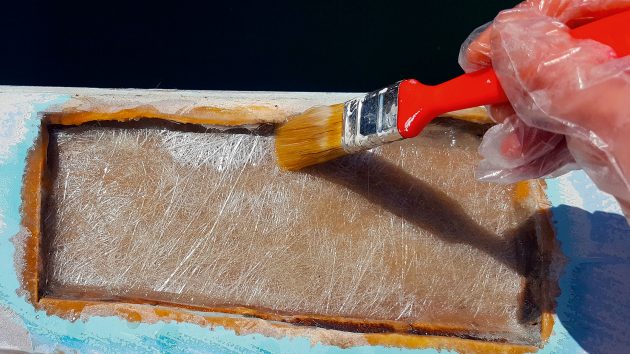
Larger areas of osmotic damage may need expert treatment. Photo: Yachting Monthly
If, however, large areas or the whole hull is blistered, you’ll need an expert’s opinion.
If it’s really bad there’s no other option than a full gelcoat strip followed by systematic treatment of the entire hull below the waterline.
Spongy decks
A very common problem for older GRP yachts is spongy decks.
Between the 1970s-90s many boats had balsa-cored sandwich decks, partly to make them stiffer, and partly to help reduce the boat’s weight above the waterline.
This was prior to the high-density, close-cell, PVC foam core such as Divinycell, commonly used today for both topsides and decks.
In good condition, the modern foam sandwich is completely waterproof, whereas the earlier ‘end-grain’ balsa or plywood cores certainly weren’t.
So, if there are any poor seals around deck fittings, water can leak into the core and slowly rot the wooden core until it becomes totally soaked and mushy underfoot.
The best way to avoid this is to ensure you have no deck leaks, but this is rarely carried out carefully enough, even when new.
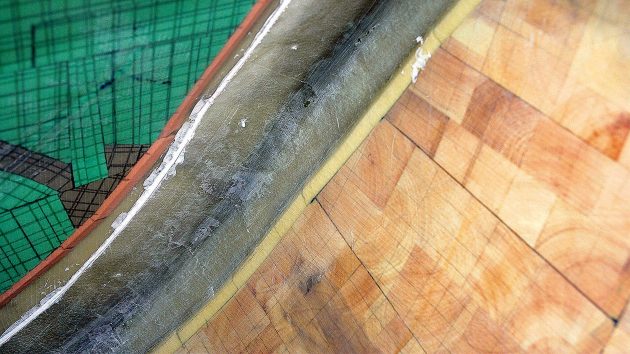
Balsa-cored sandwich laminates will remain strong and robust if kept dry. Photo: Yachting Monthly
So, when you’re looking over a boat with the idea of buying it, tread carefully all over the decks, especially around any fittings, checking for ‘give’, or sponginess in the deck.
There may even be squelching sounds and water seeping out of cracks or fittings like stanchion bases.
Better still, buy or borrow a moisture meter, learn how to use it, and then check out the entire deck for high moisture readings yourself.
Article continues below…
Expert advice: best boat maintenance advice
It may not be anyone’s favourite thing to spend their time doing, but boat maintenance is crucial for any boat…
Best boat dehumidifier: 7 models tested to keep your boat dry
It sounds obvious, but boats tend to live in a damp environment. Even if you keep yours ashore or in…
Teak decking
On older yachts with teak decks the wooden planks were invariably screwed down into the GRP deck.
This was fine while the planking was all new and the caulk between the planks was still flexible and waterproof, but after many years the caulk dries out and shrinks, and water inevitably finds its way down the screw threads and into the laminate below.
It’s even worse if the underdeck has a wooden core as well, as this will rapidly turn to mush, making it an even bigger job than simply replacing the teak.
You can usually detect this by inspecting areas around fittings and treading all over, checking for flexing and listening for squelching sounds.
Check out the caulking carefully too and look out for areas of shrinkage where water may have seeped through.
Backing pads
Another common area to look for moisture damage is in the parts of the deck where backing pads (usually plywood but sometimes metal plates) were bonded into the laminate to increase the material shear strength beneath a heavy-duty deck fitting such as a winch or windlass.
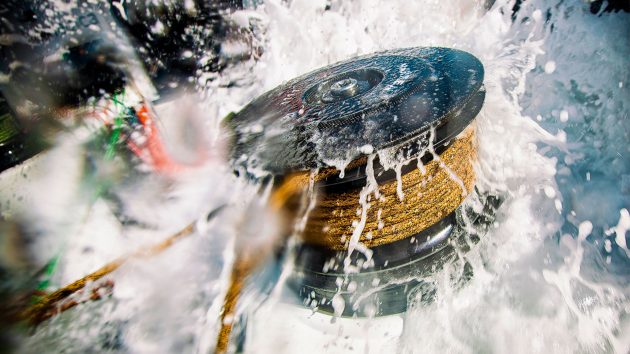
Winch reinforcements can become vulnerable under long-term heavy stress. Photo: Yachting Monthly
The area around the pads often cracks under repetitive stress, letting water seep into the layup.
If they’re plywood, which is common, they will rot and very often disintegrate. If metal, they can oxidise and break their bond with the laminate.
Both can allow the moisture to wick into the GRP and create an even larger area of structural instability.
Hull damage
Hulls that are cored between the waterline and deck can sometimes experience problems after suffering minor damage, such as that frequently sustained when berthing in high winds.
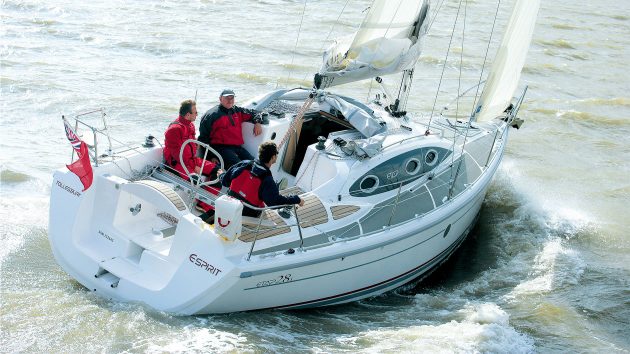
Many yachts, such as the Etap 28, are built with an inner moulding to give extra buoyancy and insulation. Photo: Yachting Monthly
In addition to any moisture ingress through cracks in the gelcoat, most concerns with foam sandwich hulls are down to the core becoming de-bonded from the GRP outer skin, often caused by abnormal flexing of the laminate or heavy physical contact damage.
Once this happens the structure can lose its shear strength and the hull can start cracking, allowing water to get into the cavity between the core and the skin.
Some boats, notably most Sadler and Etap yachts, were built with an inner moulding, and the gap between it and the outer hull skin was filled with closed cell, expanding polyurethane foam to provide additional buoyancy and insulation.
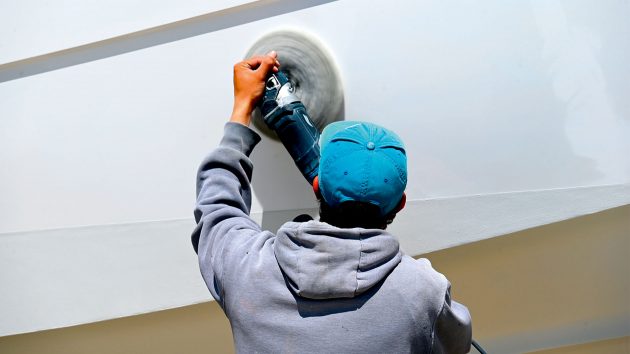
Polishing the gelcoat after a successful hull moisture repair. Photo: Yachting Monthly
Although the foam doesn’t absorb or wick moisture, there have been a few cases of the foam inside breaking away from the outer skin, causing it to flex and crack, letting water seep in.
In most cases, though, the moisture ingress was initiated by collision damage to the hull.
Saturated sandwich deck
While damp decks are quite common in older boats it’s not necessarily a reason for not buying it.
Unless you’re an expert, you will need to have it thoroughly checked/metered out and maybe some core samples taken to assess just how bad the condition is.
Hopefully, the deck laminate on either side of the sandwich is clear of osmosis, in which case the core can usually be replaced fairly easily.
A quick repair (bodge, really) usually entails drilling holes in the deck and injecting resin in areas where the damage is not too widespread or near high stress areas.
While this may stop the deck from flexing so much, it doesn’t really solve the problem and should really only be done as a temporary fix, as it adds little extra structural strength to the deck area being treated.
Sooner or later, the remaining core will get soaked and start causing osmosis problems. Any water left in the core can also freeze and expand, breaking the new resin bond and leaving you with an even bigger repair bill.
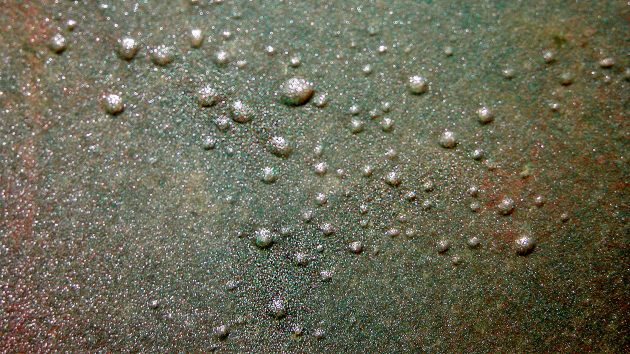
Osmotic blisters are easily treated but can lead to extensive damage if ignored for too long. Photo: Yachting Monthly
The proper cure is to replace the core entirely by cutting out one side of the laminate, removing the mushy core, and replacing it (preferably with closed-cell foam sheets) before re-laminating over the top.
It’s hard to make such a drastic repair invisible from on deck, so repairing it from the inside after removing the headlining can be aesthetically better. It is, though, more difficult to do it this way.
If an area has been waterlogged for a long time, there’s a good chance the laminate might be damaged as well, making the whole area structurally unsound.
In this case a repair job might possibly be too extensive to make economic sense.
When repairing rotten plywood backing pads under winches or deck gear it’s often better to bond in some very tough, polyethylene foam pads, or use an extra thick base of solid GRP.
Fixtures and fittings
Other areas of concern are where metal components, such as chain-plates, have been encased in laminate.
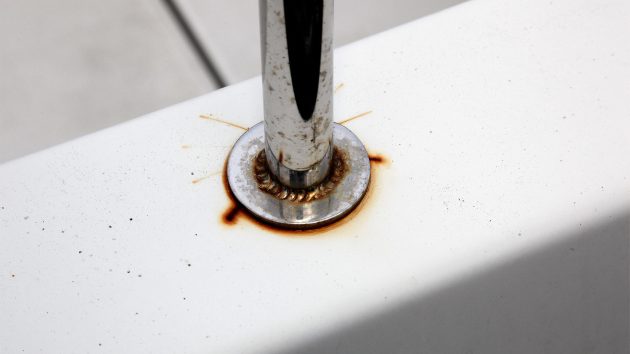
The movement of metal fittings can eventually allow water into the surrounding laminate. Photo: Yachting Monthly
Over years of hard sailing, slight movement in these can crack the laminate, allowing moisture to enter.
This sits there gradually rusting the metal (including stainless steel) away, creating a serious risk of rig failure.
Once again the only cure is to cut away the GRP, replace the chainplate, and ideally not laminate back over it again so it’s clearly visible and fresh air can get to it.
Similar problems can occur around old metal water- or fuel-tanks, where they were originally bonded into the boat.
In time, especially when the tanks are full and the going is rough, the bonding starts to split or come away from the tank.
Worse still, the securing tabs rip off the surrounding laminate, allowing damp to penetrate the hull from the inside.
Enjoyed reading this?
A subscription to Yachting Monthly magazine costs around 40% less than the cover price.
Print and digital editions are available through Magazines Direct – where you can also find the latest deals.
YM is packed with information to help you get the most from your time on the water.
-
-
- Take your seamanship to the next level with tips, advice and skills from our experts
- Impartial in-depth reviews of the latest yachts and equipment
- Cruising guides to help you reach those dream destinations
-
Follow us on Facebook, Twitter and Instagram.


