What’s the best kit for MOB retrieval and recovery? Chris Beeson tested a range of pushpit-mounted products to find the answer
Testing MOB retrieval and recovery kit
Look at your boat, or at any other boat around you. Chances are the pushpit will be adorned with all sorts of boxes and belts, pipes, lines and gizmos, all designed to help you get a man overboard (MOB) back onto the deck. But how many of us have tested the kit to see how easy it is to use? Does the average skipper even know what’s in those brightly coloured pouches?
The aim of this test was to lift the lid on these portentous packages so we could find out how to use them, discover what problems we might encounter when doing so, and learn which bits of kit worked best in order to bring a casualty alongside, then get them back on deck.
Recovery techniques
There’s a lot of discussion and instruction on how to find your MOB, but very little about how to get them back on board. We tested three methods to find out which was quickest and easiest, and how it might be made easier still.
With an unconscious casualty in the water, options are limited. If conditions allow, deploy an inflatable dinghy and retrieve the MOB by hauling them over the tube. Otherwise, you could use the boat hook and a pick-up sail, or a halyard clipped onto the casualty’s harness. The methods we tried all assumed that the MOB was conscious and not yet cold enough to have lost the use of their hands, which could be as little as 10 minutes after falling in. Pixie has a bathing ladder but we avoided using it to board, because in a seaway the transom is no place to be.
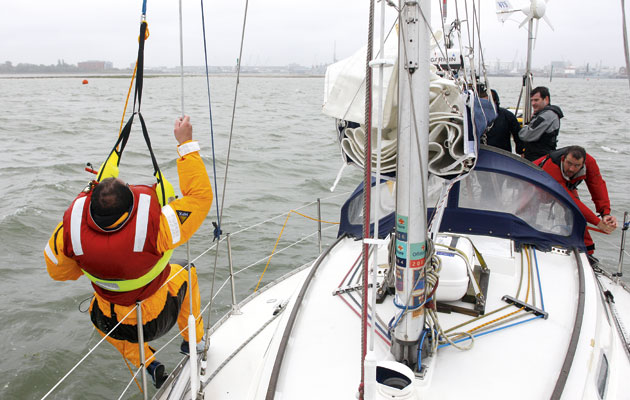
Winching a halyard
Pixie has Barient 22 primary winches and I was using a 10in winch handle. I was expecting to labour seriously while winching a 17-stone casualty out of the drink, but it wasn’t as hard as I thought. I took it steadily and Kieran was on deck after no more than 45 seconds’ winching.
A bigger winch and a longer winch handle would have made it easier still. An electric winch would have made this both the quickest and easiest method of recovering an MOB.
The main advantage of this method is that it’s quick, in a situation where speed is of the essence. All you need to do is get some slack in the topping lift or main halyard, pass it to the MOB, who clips it to the D-ring on his harness, then start winching. Another advantage is that the MOB is raised adjacent to the shrouds, giving them something to grab onto in order to pull themselves aboard. The main drawback is that in some cases, an inflated lifejacket can make it tricky for the MOB to locate the D-ring.
Block and tackle
Pixie has a 4:1 purchase mainsheet system with a camcleat and, crucially, snap shackles on either end. We secured the boom using a line snap-shackled on and led to a secondary winch via a block on the toerail. Then we removed the mainsheet so that the camcleat block was on the boom, and we passed Kieran the other end, to clip the snap shackle to his lifejacket’s D ring.
The 4:1 advantage made it fairly easy to lift him. However, the purchase system was block-to-block by the time Kieran was level with the deck. We therefore manhandled him over the lower lifeline, having released the top one. We should have raised the boom by releasing the vang and hauling on the topping lift.
This technique took longer to set up than the halyard method and would have taken considerably longer if Pixie had ordinary shackles either end, and even longer if we had taken the vang off to raise the boom.
Windlass
Pixie has no powered winches but does have an electric windlass with a warping drum, and one of the reasons Graham and Kirsty used to justify the expense was that it could be used to get Graham back aboard if he fell in. As Pixie has a rigid rod kicker, they decided to use the topping lift and extended it so it could reach the windlass. It runs around one of the coachroof winches and forward to the windlass drum via a pre-prepared block on a strop attached to the toerail forward. This involved no more effort than the press of a button and, once set up, it was the quickest method too, but there was extra time involved in digging out the strop, turning on the windlass switch and running the topping lift tail forward. I’m also not convinced that I’d want to spend that long on the foredeck in rough seas.
How we tested
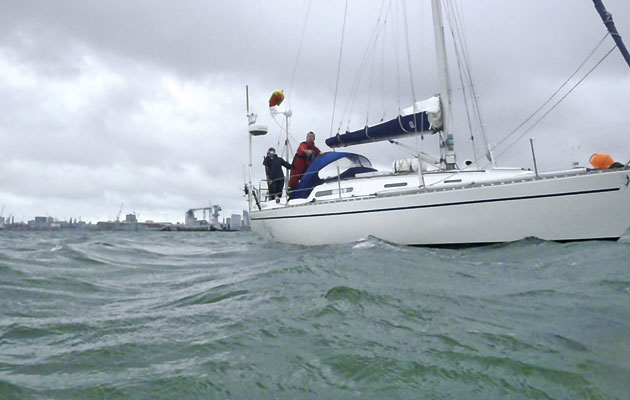
Our photographer Graham Snook volunteered Pixie, his Sadler 32, as a test bed. Ocean Safety and Baltic Safety UK lent us a selection of standard pushpit safety kit, so all we needed was a real live casualty. To his credit, if not better judgement, our editor Kieran Flatt volunteered to take the fall, wearing a Musto HPX drysuit.
With unusually rough seas outside Portsmouth Harbour, we abandoned plans to test in open water. Instead, we secured Pixie to a vacant mooring in the harbour, with a mile’s worth of fetch to windward. We had Nick Eales standing by in a SeaStart RIB, mainly to give Graham a photo platform, but also collect Kieran should anything go wrong. As it turned out, with the wind and rain whipping across the deck, Kieran was warmer than the rest of us – and drier, too.
We didn’t test the standard horseshoe lifebuoy, because it’s no use for retrieval or recovery. It is, however, useful for keeping an eye on your MOB, especially when attached to a danbuoy. A lifejacket gave Kieran all the buoyancy he needed. To test retrieval, we let Kieran drift off, and deployed various items to get him alongside. Then we recovered him, so he could jump back in again!
The test
Trem throwing line
This has a loop on the end of a 25m line, coiled inside and attached to the base of a plastic sock, with a white webbing loop outside the end of the bag. Also at the base is a weight inside a block of closed cell foam. Undo the Velcro at the neck of the sock, place the loop over your wrist and throw towards the MOB.
This was easier to throw than some because of the weight, but even so the wind took it well downwind. Once Kieran had swum to the floating sock, he grabbed the white loop at the base and I hauled him in. The MOB must have enough strength to hold on, and if the boat is rolling then shock loads could tear it from their grasp. This device offers no significant buoyancy and is for retrieval only, not recovery.
Kim safety ladder
2.4m-long, this ladder is made of webbing straps with plastic tubes for rungs. With your MOB alongside, clip the webbing loops onto the toerail and pull the ladder out of the bag. It’s light, easy to stow, quick to deploy and inexpensive.
Kieran wasn’t filled with confidence initially but after struggling to get one foot on a rung, it worked well. Deploy it at the shrouds so your MOB is climbing out at midships where pitching is reduced, and they have the shrouds to grab. I’d fasten a shackle on the bottom rung so that the ladder hangs straight rather than drifting around in the water, making it harder to get a foothold.
Kim throwing recovery strop
This has a strop, Velcroed to the sock, on the end of a retrieval line. Undo the Velcro strap at the neck of the sock so that the line can pay out, then throw at the MOB. It didn’t have much weight, so distance and accuracy were difficult.
Kieran has reduced mobility in his left arm after a bike accident, but even an able bodied MOB would struggle to get the strop over an inflated lifejacket. It took a good minute of thrashing to get it half-on and also hurt on retrieval because the strop was thin and pushed the inflated lifejacket into his face. Kieran said it would have been quicker – and no less comfortable – to throw him a line with a bowline in the end.
Kim MOB rescue sling
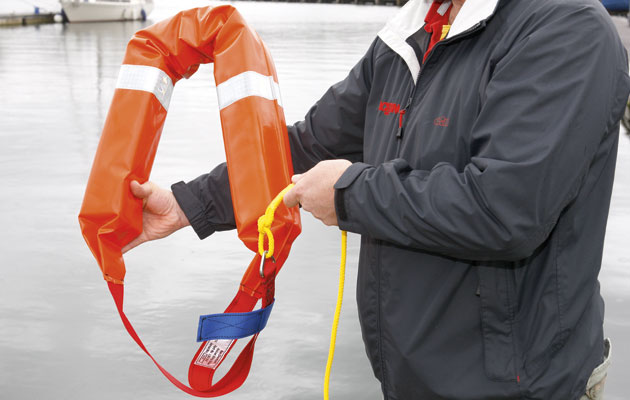
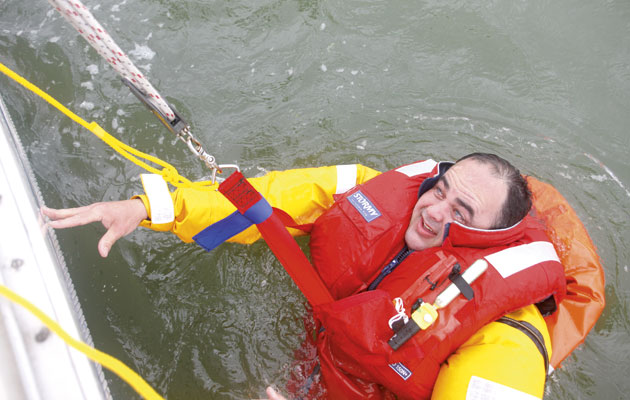
Open the top of the rectangular pouch, mounted to the pushpit with Velcro, and there’s a buoyant foam U covered in bright orange plastic, with a webbing strap completing the loop. There’s a D ring stitched into the webbing and a recovery line attached to that. Rather than thrown, it is dropped over the side with the line paid out as you sail or motor around your MOB.
Kieran said it was easy to get on as the webbing makes the loop big enough to get over your shoulders and lifejacket. Once on, it was comfortable. The long webbing strap also makes it easy to see what you’re doing when you fasten the recovery line, which in this case was the mainsheet.
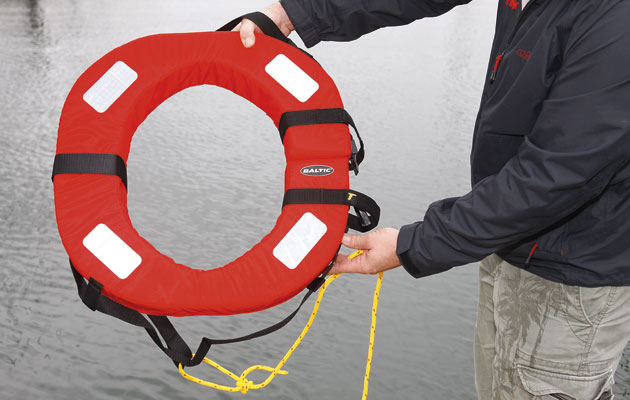
Baltic rescue sling
Attached to the pushpit with webbing straps and plastic buckles, this device is released by unzipping the cover and pulling the sling out. It’s then dropped into the water and the recovery line paid out as you circle the MOB.
The rope purchase that completed the U-shaped foam sling didn’t open wide enough, leaving Kieran little room to get it over his shoulders. After struggling for a minute or two, he developed a technique of floating on his front then ‘diving’ through the loop and whipping his elbows back to make sure the sling stayed in place. Once on, he attached the recovery line and enjoyed a comfortable hoist.
Jonbuoy inflatable rescue sling
This device comes in a rigid tube attached to the pushpit by Velcro straps. Unzip the top, grab the black webbing strap and pull the device out. This removes a safety cap attached to the base of the tube that prevents the sling inflating in the canister if the tube takes a dunking on the pushpit.
Kieran was down tide but across the wind and I tried to take account of that with my throw. Despite having a 33g CO2 canister, the wind grabbed it and blew it well off course, and it made less than 10m. When it landed, the sling inflated and it wasn’t particularly difficult to put on. It was also easy to fasten the halyard to the webbing lifting strop, and Kieran said it was comfortable during the lift.
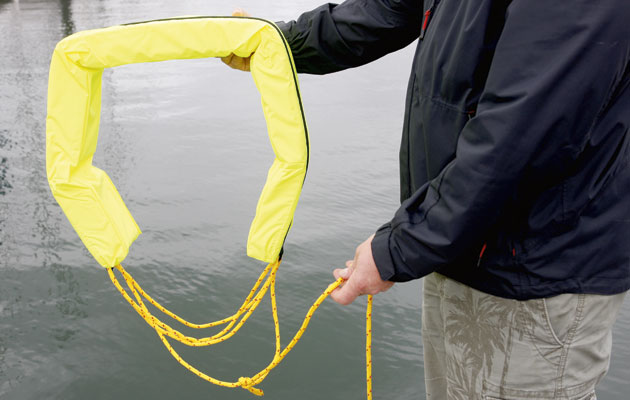
Baltic Swedebuoy
This clips onto the pushpit with webbing strops and plastic buckles. Open the Velcro cover, grab the lifting strops and haul the loop out. A plastic buckle joins the loop’s ends and it should be stowed with this undone. Drop the device overboard and pay out its 30m line as you circle your MOB.
Kieran said it was easy to get it around his waist but difficult to buckle up. In fact it’s not supposed to be fastened, so why is it there? The two webbing lifting strops were visible over the lifejacket, making it easy to secure the recovery halyard but during lifting the device pushed the lifejacket into his face, which hurt. With the device unbuckled and secured under his arms, it would have been fine.
Kim pick-up sail
Similar to a parbuckled sail but quicker and easier to use. Clip the pouch onto the lifelines near the shrouds, attach a halyard to the ring at the ‘head’ of the sail, then unclip the seatbelt-type buckle at the base of the bag, loop the ends around stanchions fore and aft, and rebuckle and tension to make sure the MOB doesn’t fall out when they reach deck level.
Kieran said it was easy to swim into, but he didn’t like being upside down, arms pinned to his sides, with his face inches from the water. One roll and his head would have been underwater. Once at deck level, you need to cut the lower guardwire’s lashings. Best solution for an unconscious MOB, who could be dragged into the sail using a boathook.
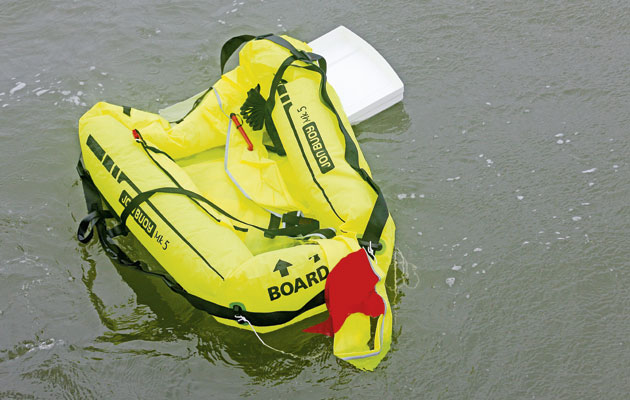
Jonbuoy recovery module MkV
Secures to the pushpit with brackets. Push the tab on the back and the canister opens deploying the device, which inflates to give the MOB a floating cradle with an integral danbuoy. The ballast bag filled quickly so it didn’t blow away. The module has a rescue quoit on a 5m line to throw to the casualty, but ours was 15m away, so we threw him Pixie’s heaving line instead.
He scrambled aboard and settled down; we hauled him in, attached the halyard to the webbing lifting strop and began winching. The extra ballast made this harder, until we capsized the ballast bag with a boathook. This unit keeps the MOB’s head well above water and gave by far the most comfortable hoist.
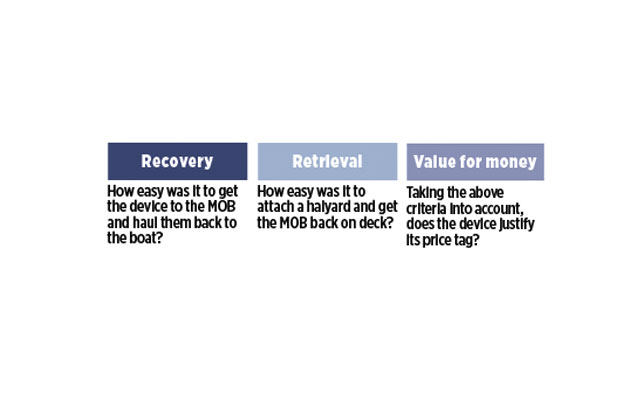
The results
Conclusion
Unless you get close enough to let your MOB swim to the safety ladder deployed midships – a very good solution if you’re able to stop within a few metres upwind – retrieval is going to involve lines in the water. Also, sailing to your MOB gives a singlehander too much to do, so douse all sail and start the engine.
If you choose throwing lines, get yourself close and upwind of the MOB, select neutral, check your throwing arc, throw the device overarm over the MOB’s head, then haul them in slowly to the shrouds. Throwing devices with a weight at the end of the sock, like the Trem, fly better but you should be close enough for that not to be an issue.
If you choose towing lines, you’re supposed to deploy the device and pay out the line so it doesn’t tangle while steering in an arc around your MOB, all singlehanded. I daresay it’s possible but it seems like a lot to do.
That said, the towing lines are most comfortable when it comes to recovery so I’d be tempted to position the boat as if using a throwing line, then hurl the towing device as far as you can towards the MOB.
Hauling the MOB back alongside was easier than expected but a thicker polyester line is easier on the hands than a thinner polyethylene one. Haul too fast and they’ll get a bow wave in the face, so go slow or get them to put the sling on backwards and tow them on their back. Don’t use a winch or secure the line to a cleat because the boat’s rolling, more severe with the sails down, will give the MOB some heavy shock loads.
Kieran found it useful to have a bight of line over the side so he could hold on while I readied the halyard. He also found that the MOB can make the lift much more comfortable by ‘walking’ up the topsides while being lifted.
A final observation: all of the non-inflatable devices can be re-used without replacing anything, making them ideal for practice with a willing MOB on a warm day – you don’t want to be reading instructions with a real MOB. Practice will make you much more confident about using the kit if and when you need to.


